In the age of Instagram and YouTube, it is now easier than ever to learn some banger makeup skills to crush all your looks, from natural, everyday makeup to killer, glam styles. While I always encourage clients to book hair and makeup with my amazing team to ensure a stress-free experience for you, I am totally cool if you want to DIY your boudoir makeup before arriving at the studio!
However, it’s important to note that not all makeup is created equal. Your real life, in-person makeup can be vastly different than what the camera sees, and as such, you’ll need to plan accordingly to make sure your makeup shows through in the final photos. As a general rule, “natural” makeup disappears very quickly on camera, so you’ll need to glam up your DIY makeup application a bit so that it shows on camera in the final photos.
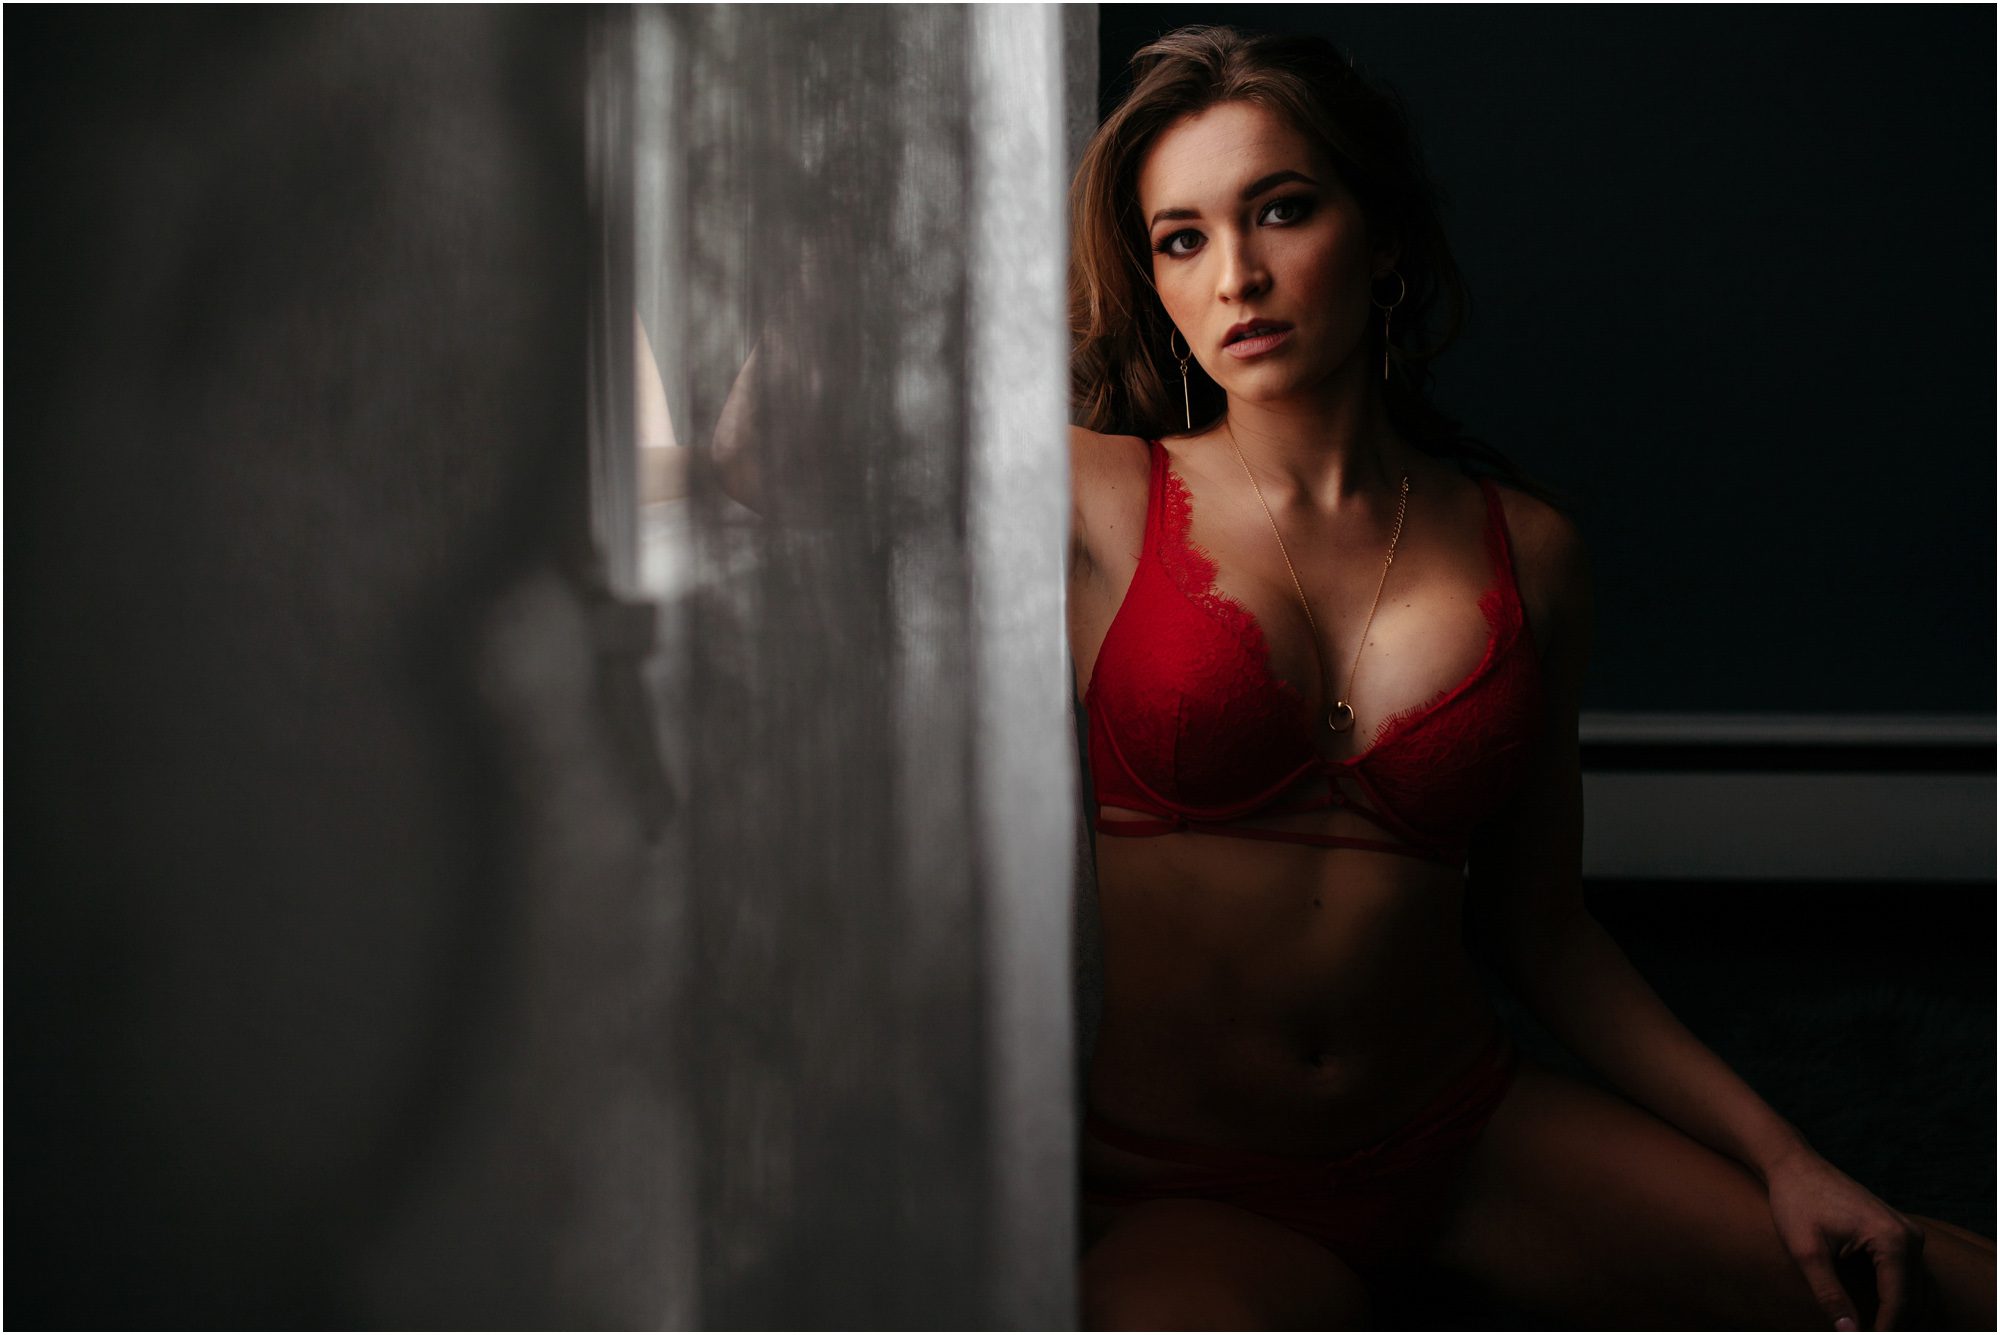
DIY Boudoir Makeup Tips: Foundation and Concealer
First and foremost, you’ll want to make sure you’ve color-matched the foundation itself to your natural skin tone to the best of your ability, as it’s rather noticeable in the final photos if your face is a different shade than your neck, collarbone, and the rest of your body. This is why makeup artists will color-match foundation for your face to your chest. I recommend taking some test photos with your phone before you arrive at the studio to make sure everything is seamless, especially from your jawline down into your neck. Blend like crazy, baby!
Next, you’ll want to opt for the coverage that fits your comfort level. If you opt for lighter coverage, you’ll allow for more of your natural skin texture to show through. If you’re looking for a more airbrushed look, go for medium to heavier coverage. Whatever you’re most comfortable with here works for me!
After you’ve decided on coverage, you’ll want to pop on a little concealer under your eyes and in any other spots that need a bit of brightening.
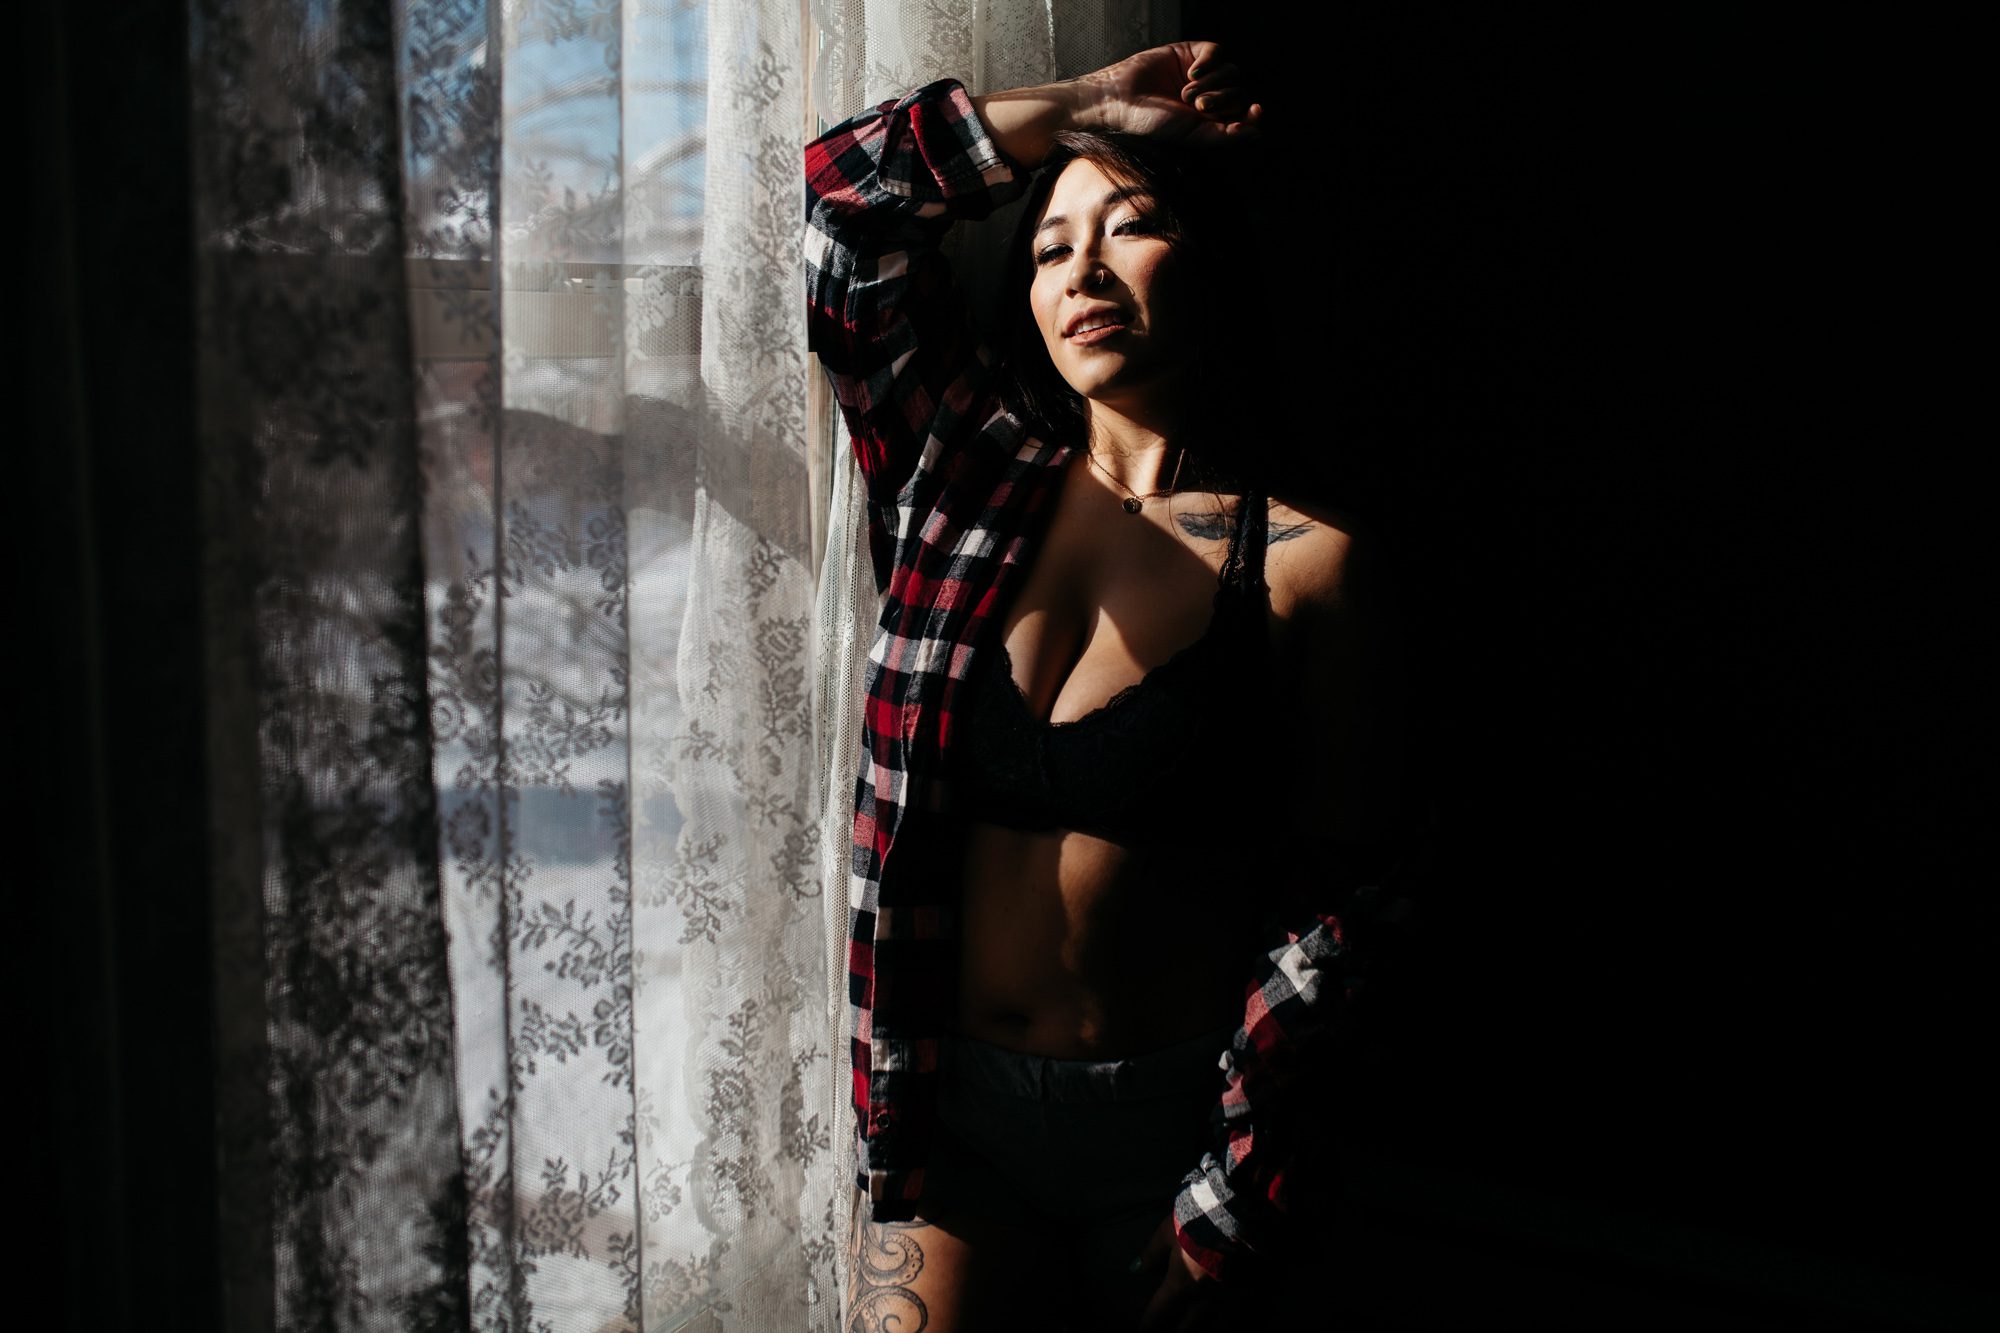
Finally, it’s extremely important to remember that a dewy finish will look like sweat or grease on camera. Studio lighting is responsible for this. As such, please skip the highlighter and opt for a matte foundation finish.
DIY Boudoir Makeup Tips: Eyes and Brows
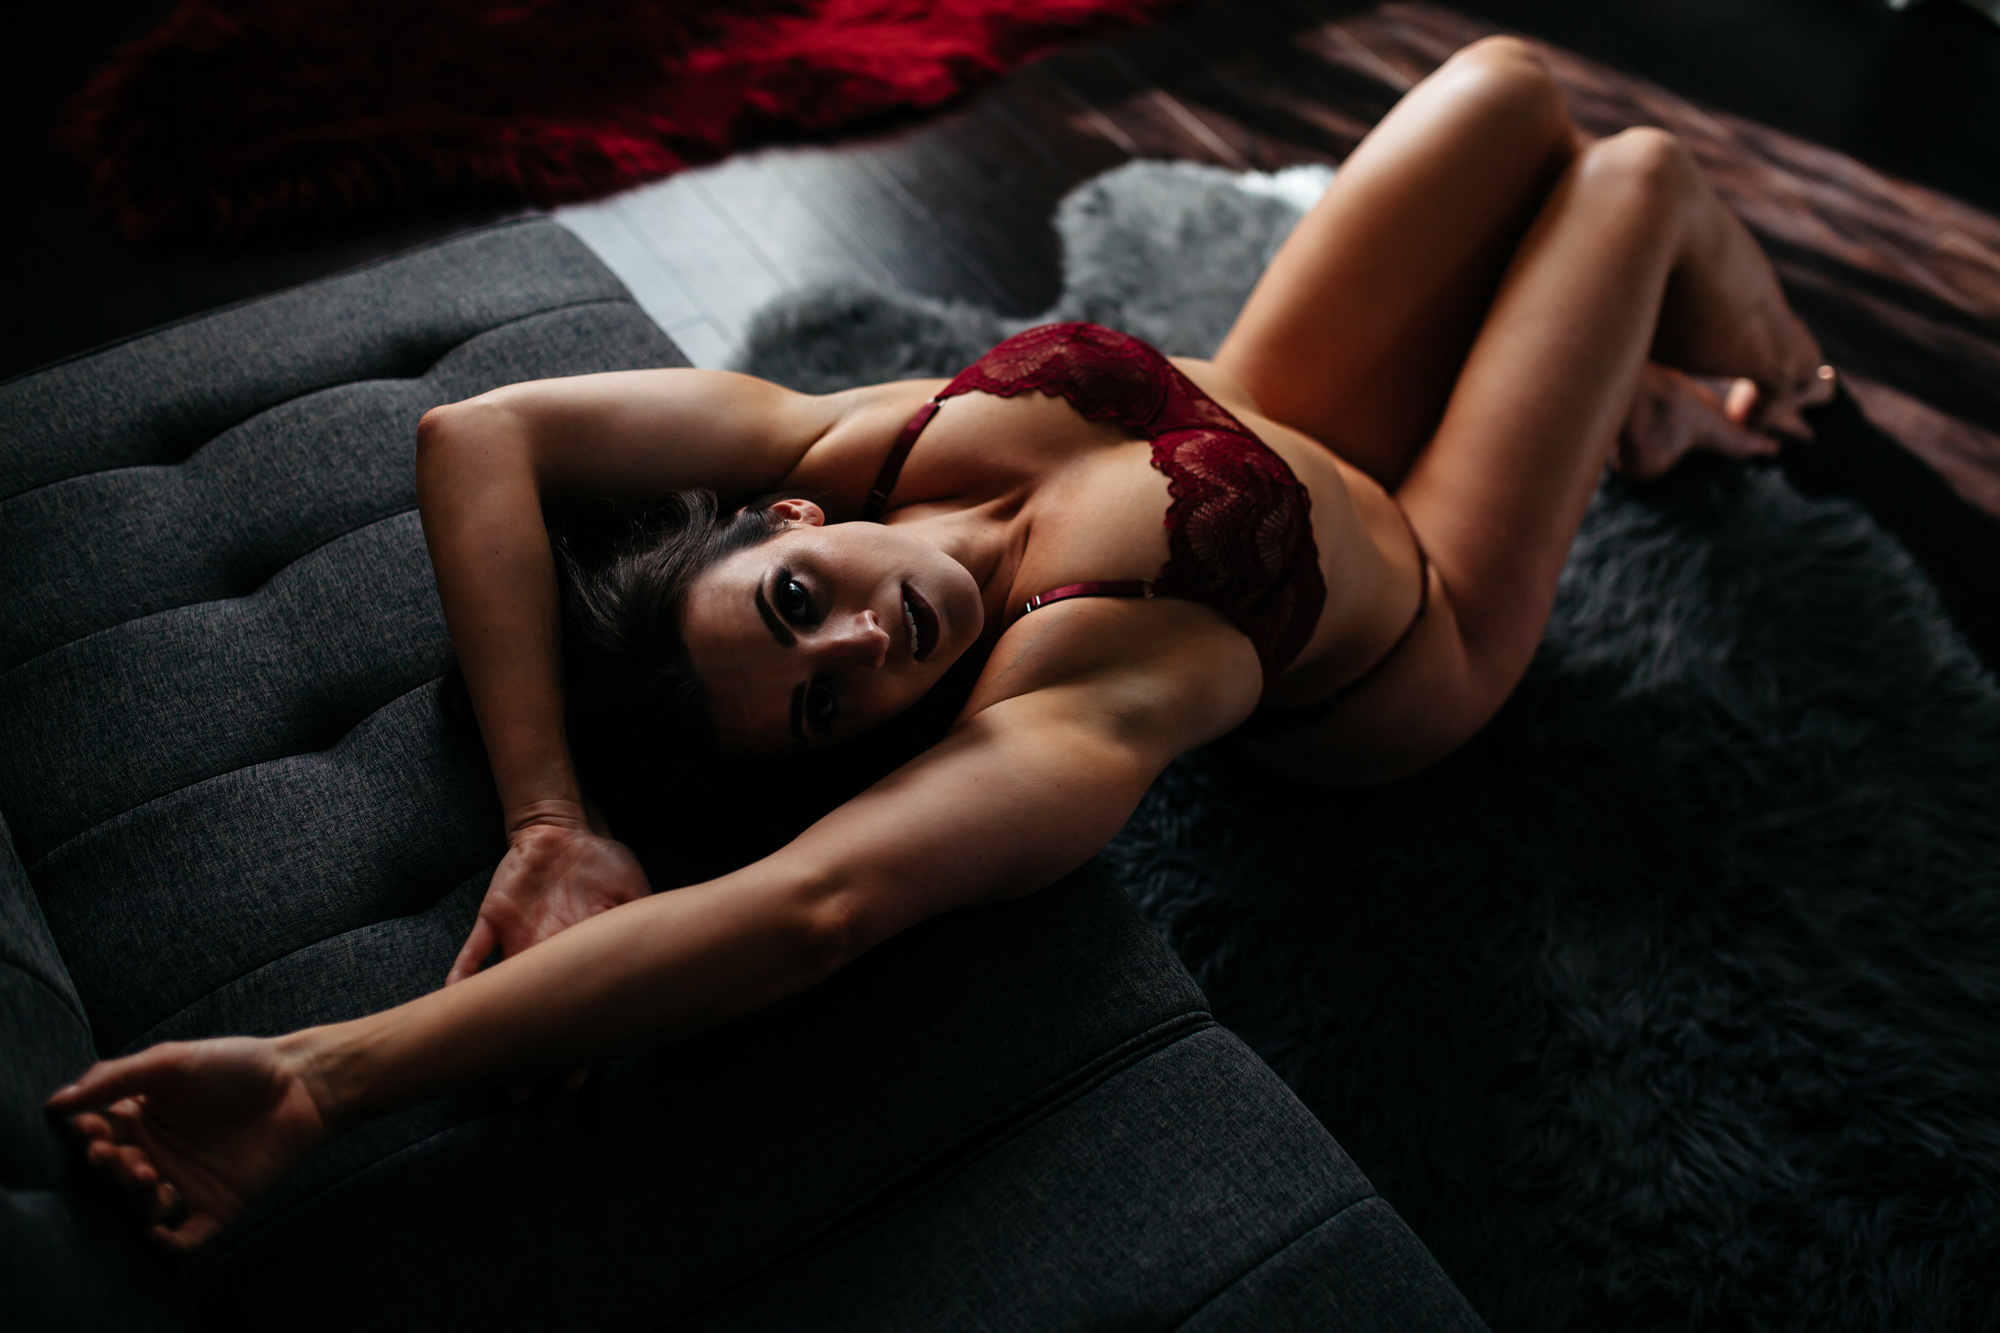
Your eyes are arguably the most important feature on your face, as that’s where our brains are programmed to look first when presented with a portrait. When working with your eye shadow, you’ll want to choose a method that complements your eye shape and opens them up. Smoky eyes are great for this, and for boudoir especially, as it matches the vibe of your shoot perfectly.
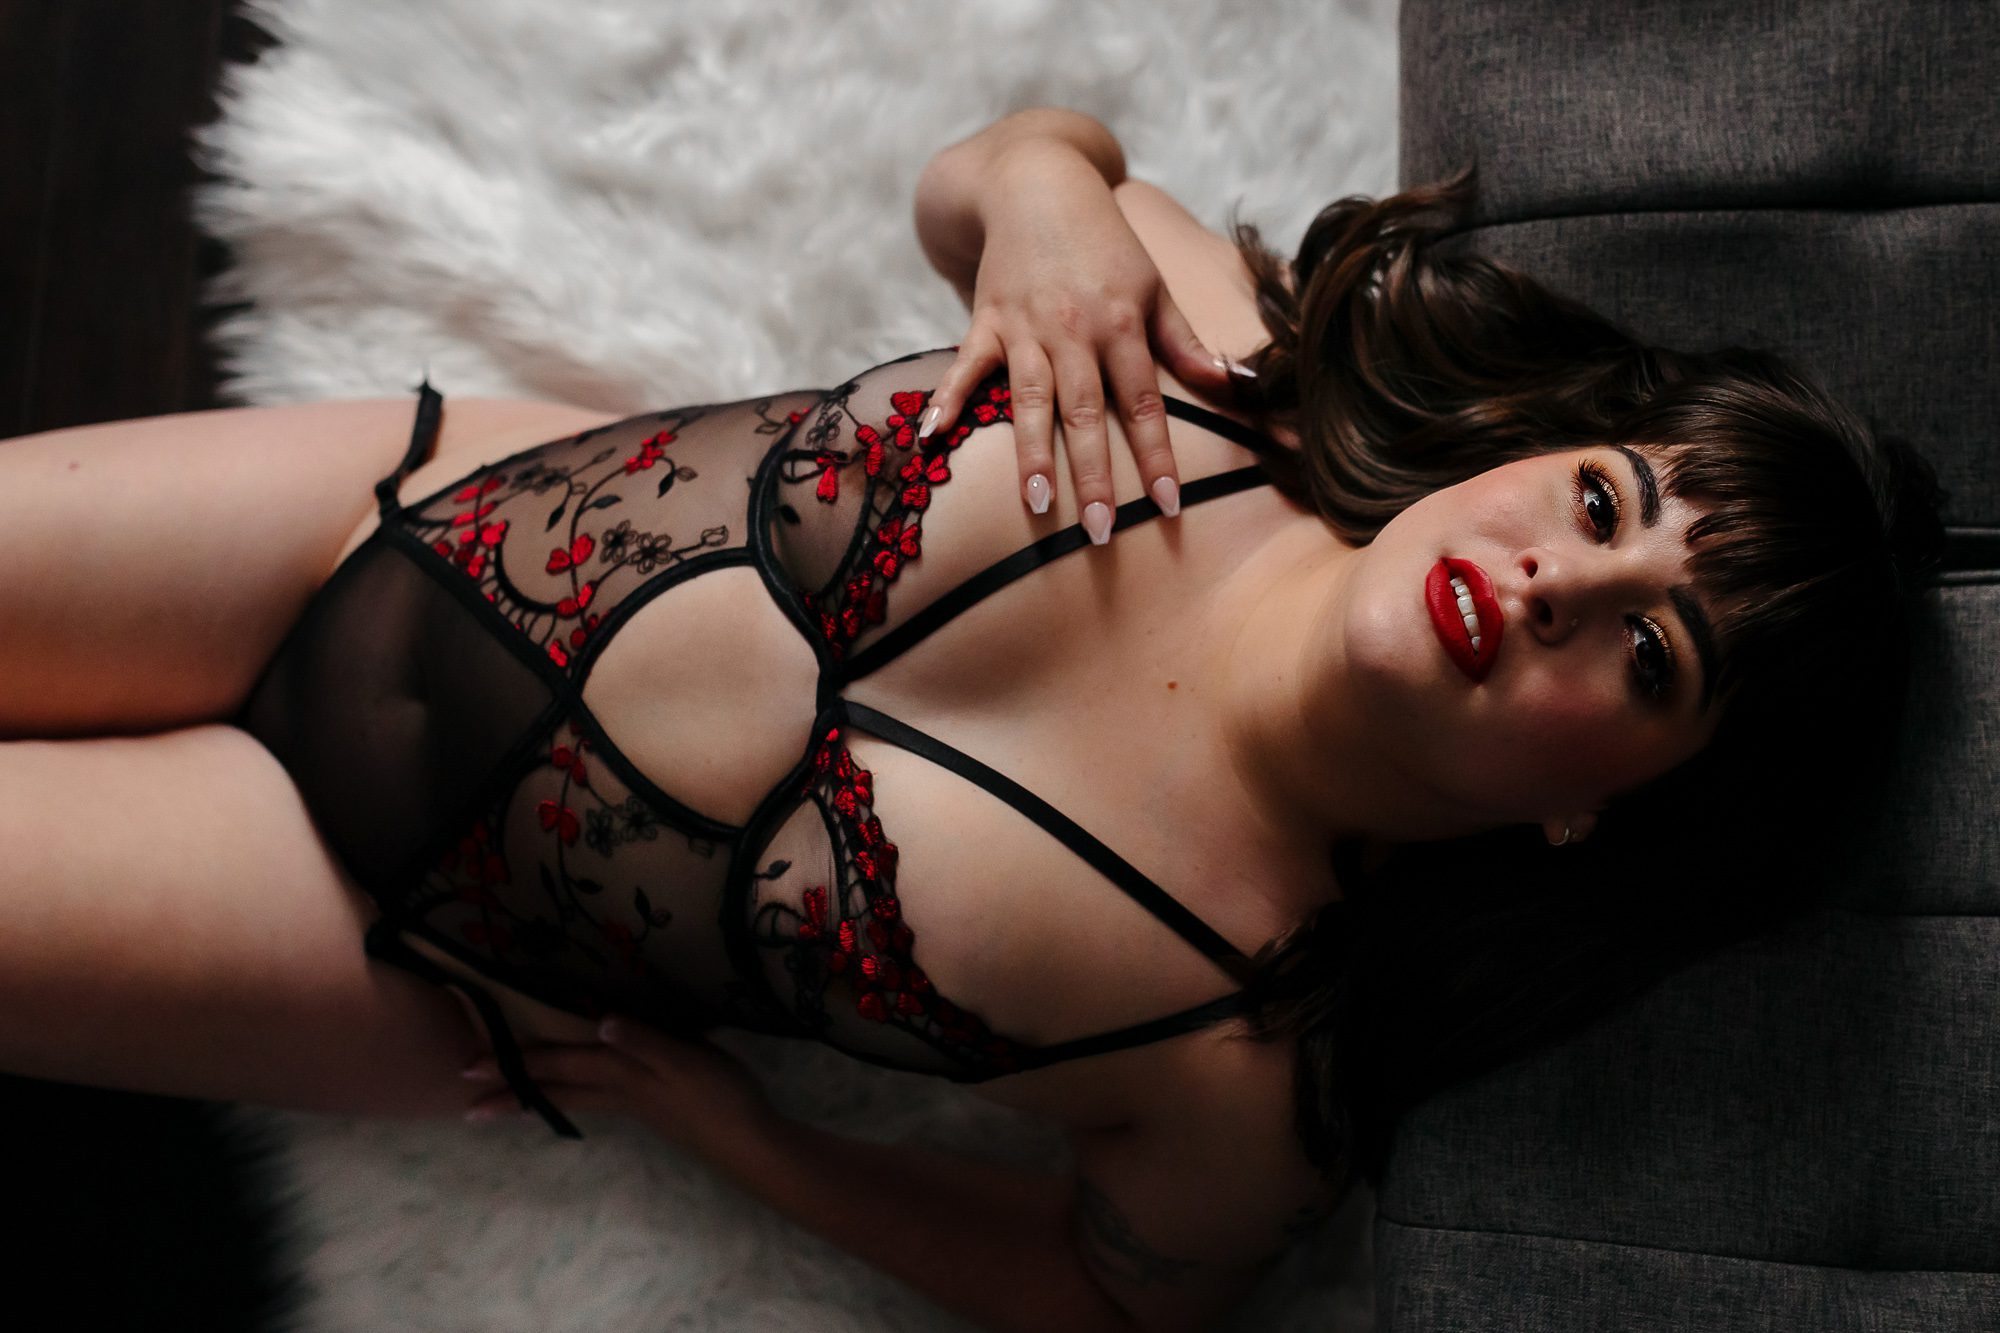
If you go for a smoky eye, leave the black shadow in the palette. I know it may seem like that’s the color you would use for a smoky eye, but black shadows can be too muddy and cool, thus closing your eyes instead of opening them. Instead, go for browns, purples, golds, even maroon or deep red.
For eyeliner, I recommend using a method that — are you sensing a theme here? — opens up your eyes as well. Full eyeliner on your top and bottom lids might be a bit too much, so I recommend checking out YouTube tutorials that use eye shadows to create a smoky line around the eye. This will still give you a sultry look without being too closed off.
If you’re not super into eyeliner (like me!), I recommend googling how to tightline your eyes. This will give off the illusion of eyeliner without it being too heavy. I use this method when doing a glam look as my eyes are more hooded now than before — yay for being in your 30s!
For your brows, I recommend simply filling them in the way you normally would on an everyday basis. You can always fill them in a touch more after you’ve done your full face, if needed.
DIY Boudoir Makeup Tips: Lips and Lashes
I am 100% pro-fake lashes. You can choose any style that you feel comfortable with, but I recommend at the very least a subtle fake lash, like Ardell’s Wispies. Lashes are the first facial feature that get lost on camera. Without fake lashes or some truly banger mascara, it’s very hard for the camera to pick this part of your face up, and as a result, your makeup might not look pulled together in the end. I’ve done my own boudoir photos with only mascara in the past and I was bummed to see that in the final photos, my eyes didn’t really *pop* like I had hoped they would.
For your lips, I recommend picking a shade and style that you love. Matte or glossy both work well on camera. Nudes are always perfect if you’re not a huge lipstick fan, and a showstopping red lip is always welcome in the studio. Whatever your personal preference is here works for me!
DIY Boudoir Makeup Tips: Contour, Highlight, and Blush
It’s very possible I was a Kardashian in a past life — I’m a huge sucker for a stunning contour. I recommend trying this method for your shoot. You don’t have to go full Kim K, but a little chiseling on your cheeks, nose, jawline, and forehead pairs extremely well with how I photograph you in the shadows.
However, I do recommend you go easy on the highlighter. Anything that’s sparkly or shimmery will inherently look sweaty or greasy on camera. You can do a tiny bit of highlighter on your cheek bones, brown bones, tip of your nose, or your cupid’s bow, but I recommend topping your look off with translucent powder all over your face so that your skin isn’t too shiny in the final photos.
Lastly, a little blush will go a long way. A few pops of color on your cheeks will help add some definition to your contour, which can often look almost too nude without it. Any shade of blush that you love will work, from coral to pink to everything in between.
That’s all I have for you! Did I forget something? Let me know in the comments and I’ll update the post accordingly. Can’t wait to see you in the studio!
-Ash

